 |
|||
|
|||
|
Pumpkin Decorations | ||
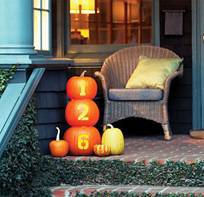
Pumpkin House Numbers
• Select one pumpkin per house number and cut a hole in the top of each. • Clean them out, saving the tops, and wipe exteriors dry. • Center paper stencil number (ours was 5 inches tall) on the first pumpkin and adhere with painter's tape. • With a marker, trace the stencil outline, then carefully carve just outside the line with a small handsaw or heavy-duty craft knife. • Repeat for each number. • Arrange a few tea lights inside each pumpkin, then line up or stack in proper order. • Replace top on the highest pumpkin. • Illuminate tea lights using a long-handled lighter through the holes.
|
|||
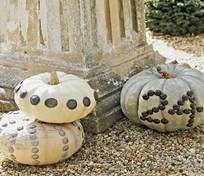
Nailhead Pumpkins
1. Use a pencil to make small dots on the pumpkin rind to mark the desired pattern. (We found a supply of 4 dozen 1/2 inch nailheads to be sufficient for decorating a medium-size pumpkin.) 2. Push the nail points into the dots on your pumpkin. Use a hammer, if necessary. (We didn't need one.) 3. Watch for any rot along the bottom of the pumpkin. Pumpkins kept in a cool location should last for weeks.
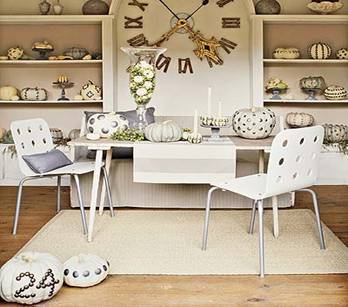
Sophisticated This fall we decided we would take a decidedly different spin as we swapped out bright orange pumpkins for the sophisticated soft hues of ivory and gray pumpkins studded with gleaming silver and bronze nailheads.
|
|||
Ideas may be found at www.myhomeideas.com |
|||
Tea-lightful Inspirations ©2004-2015 another site by sohostme.net


